Drag and Drop Angular - How to Guide
Creating intuitive user experiences is at the heart of web development. One feature that significantly enhances user interaction is drag and drop. From reordering lists to building powerful design tools, drag and drop offers a level of interactivity that makes applications feel truly dynamic.
Implementing drag and drop, however, might seem daunting due to the complexities of the native HTML5 API. But fear not! If you're working with Angular, you're in luck. Angular's Component Dev Kit (CDK) provides a robust Drag and Drop module that simplifies this process, making it easier than ever to create interactive UIs.
In this step-by-step tutorial, we'll demystify the process of creating drag and drop functionality in Angular for draggable components. Starting with the very basics, we'll walk you through how to make elements draggable, add custom drag handles, sort elements within a list, and even drag items across different containers. Each step will include detailed explanations and code samples to ensure you can follow along, no matter your experience level with Angular.
By the end of this guide, you'll have mastered the skills necessary to incorporate dynamic drag and drop into your Angular applications for draggable items, elevating the user experience and expanding your toolkit as a developer. So let's dive in and explore the world of drag and drop with Angular!
Note: the whole code from this tutorial is on GitHub
Angular Drag and Drop Prerequisites
Before we begin the main part of our tutorial, let's take a moment to ensure you have the necessary knowledge and tools. Here are the prerequisites you need to get the most out of this tutorial:
- Familiarity with Angular: It's essential to have a fundamental understanding of Angular and its core concepts such as components, modules, and services.
- Basic understanding of TypeScript: Angular is built on TypeScript, so you should have a basic understanding of TypeScript syntax and concepts such as classes, interfaces, and decorators.
-
Development Environment Setup: Make sure you have a suitable development environment set up. Here's what you need:
- Node.js: Angular requires Node.js to run. Make sure you have the latest stable version installed. You can download it from here.
- npm: The node package manager (npm) is used to install Angular and its dependencies. It comes bundled with Node.js, so if you've installed Node, you already have npm.
- Angular CLI: The Angular Command Line Interface (CLI) is a powerful tool used to initialize, develop, scaffold, and maintain Angular applications. To install Angular CLI globally on your machine, use the following npm command in your terminal:
npm install -g @angular/cliUnderstanding Drag and Drop Feature in Angular
Drag and drop is a feature that allows users to "grab" an object and "drag" it to a different location. In the context of web applications, this interaction pattern can significantly enhance the user experience.
The concept of drag and drop is fairly straightforward:
- Drag Start: This is the initial state when the user begins to drag an item.
- Drag Over: This state occurs when the dragged item is over a valid drop target.
- Drop: This is the final state when the user releases the dragged item onto a drop target and drop zone.
In order to implement this feature, most modern browsers provide a native Drag and Drop API as part of HTML5. It consists of a set of events and dataTransfer object for handling and controlling the drag and drop actions.
The primary events in the HTML5 Drag and Drop API include:
- dragstart: Fires when the user starts dragging an element.
- drag: Fires when an element is being dragged.
- dragend: Fires when a drag operation is being ended (by releasing a mouse button or hitting the escape key).
- dragenter: Fires when the dragged element enters a drop target.
- dragover: Fires when the dragged element is over a drop target.
- dragleave: Fires when the dragged element leaves a drop target.
- drop: Fires when the dragged element is dropped on the target.
It's important to note that while the HTML5 Drag and Drop API is powerful, it can be verbose and challenging to use directly in complex applications. That's where Angular's DragDrop module comes in, providing an easy-to-use, high-level API that abstracts away many of the details and complexities. We'll delve deeper into Angular's DragDrop module in the following sections.
Overview of Angular CDK's Drag and Drop Module
The Angular Component Dev Kit (CDK) is a set of tools that implement common interaction patterns whilst being unopinionated about their presentation. It represents a set of high-quality, well-tested tools that developers can use to build their own custom components.
One of these tools is the Drag and Drop module, which provides you with a way to easily and declaratively create drag-and-drop interfaces, with support for free dragging, sorting within a list, transferring items between lists, animations, touch devices, custom drag handles, previews, and placeholders.
Angular's Drag and Drop module essentially leverages the underlying HTML5 Drag and Drop API and provides higher-level abstractions to work with. It takes care of all the boilerplate code that you would need to write if you were to use the HTML5 API directly. This allows developers to focus on the actual functionality of their application, rather than the complexities of the API.
The Drag and Drop module allows for the dragging and dropping of elements within a "dragging zone". You can also define "drag handles" that can initiate the dragging of an element. Furthermore, you can specify "drop zones" to control where the dragged elements can be dropped.
Setting Up the Angular Environment
Now, let's set up our Angular environment. Here's how you can do it:
Creating a new Angular Project: First, let's create a new Angular project using the Angular CLI. Open up your terminal and run the following command:
ng new angular-drag-drop-tutorialThis command creates a new Angular application with the name 'angular-drag-drop-tutorial'. When prompted if you would like to add Angular routing, you can select 'no' for the purpose of this tutorial. Choose CSS as the stylesheet format.
Navigate to the new Project: Once the project has been created, navigate into the project directory:
cd angular-drag-drop-tutorialInstalling the Angular CDK package: We'll be using Angular CDK for our drag and drop feature. To install it, run the following command:
npm install @angular/cdkImporting the Drag and Drop Module: Now, you need to import the DragDropModule from @angular/cdk/drag-drop in the module where you want to use drag and drop functionality.
For example, here's the code snippet in app.module.ts file:
import { NgModule } from '@angular/core';
import { BrowserModule } from '@angular/platform-browser';

import { AppRoutingModule } from './app-routing.module';
import { AppComponent } from './app.component';
import { DragDropModule } from '@angular/cdk/drag-drop';

@NgModule({
  declarations: [
    AppComponent
  ],
  imports: [
    BrowserModule,
    AppRoutingModule,
    DragDropModule
  ],
  providers: [],
  bootstrap: [AppComponent]
})
export class AppModule { }
Here, we have added DragDropModule to our imports array.
With these steps, your Angular environment is now ready to start implementing the drag and drop feature.
Implementing Basic Drag and Drop
For our first task, we will make a simple div element draggable.
HTML Setup
Create a div element in your component's HTML file. Attach the cdkDrag directive to the div element. The cdkDrag directive tells Angular that this element is a draggable element.
<div cdkDrag>
  Drag me around
</div>
Styling
Next, let's style our div to make it more visible and easier to interact with.
div {
    width: 50%;
    height: 100px;
    background-color: #6495ED;
    color: white;
    display: flex;
    justify-content: center;
    align-items: center;
    margin: 10px;
    padding:10px;
    cursor: move;
  }
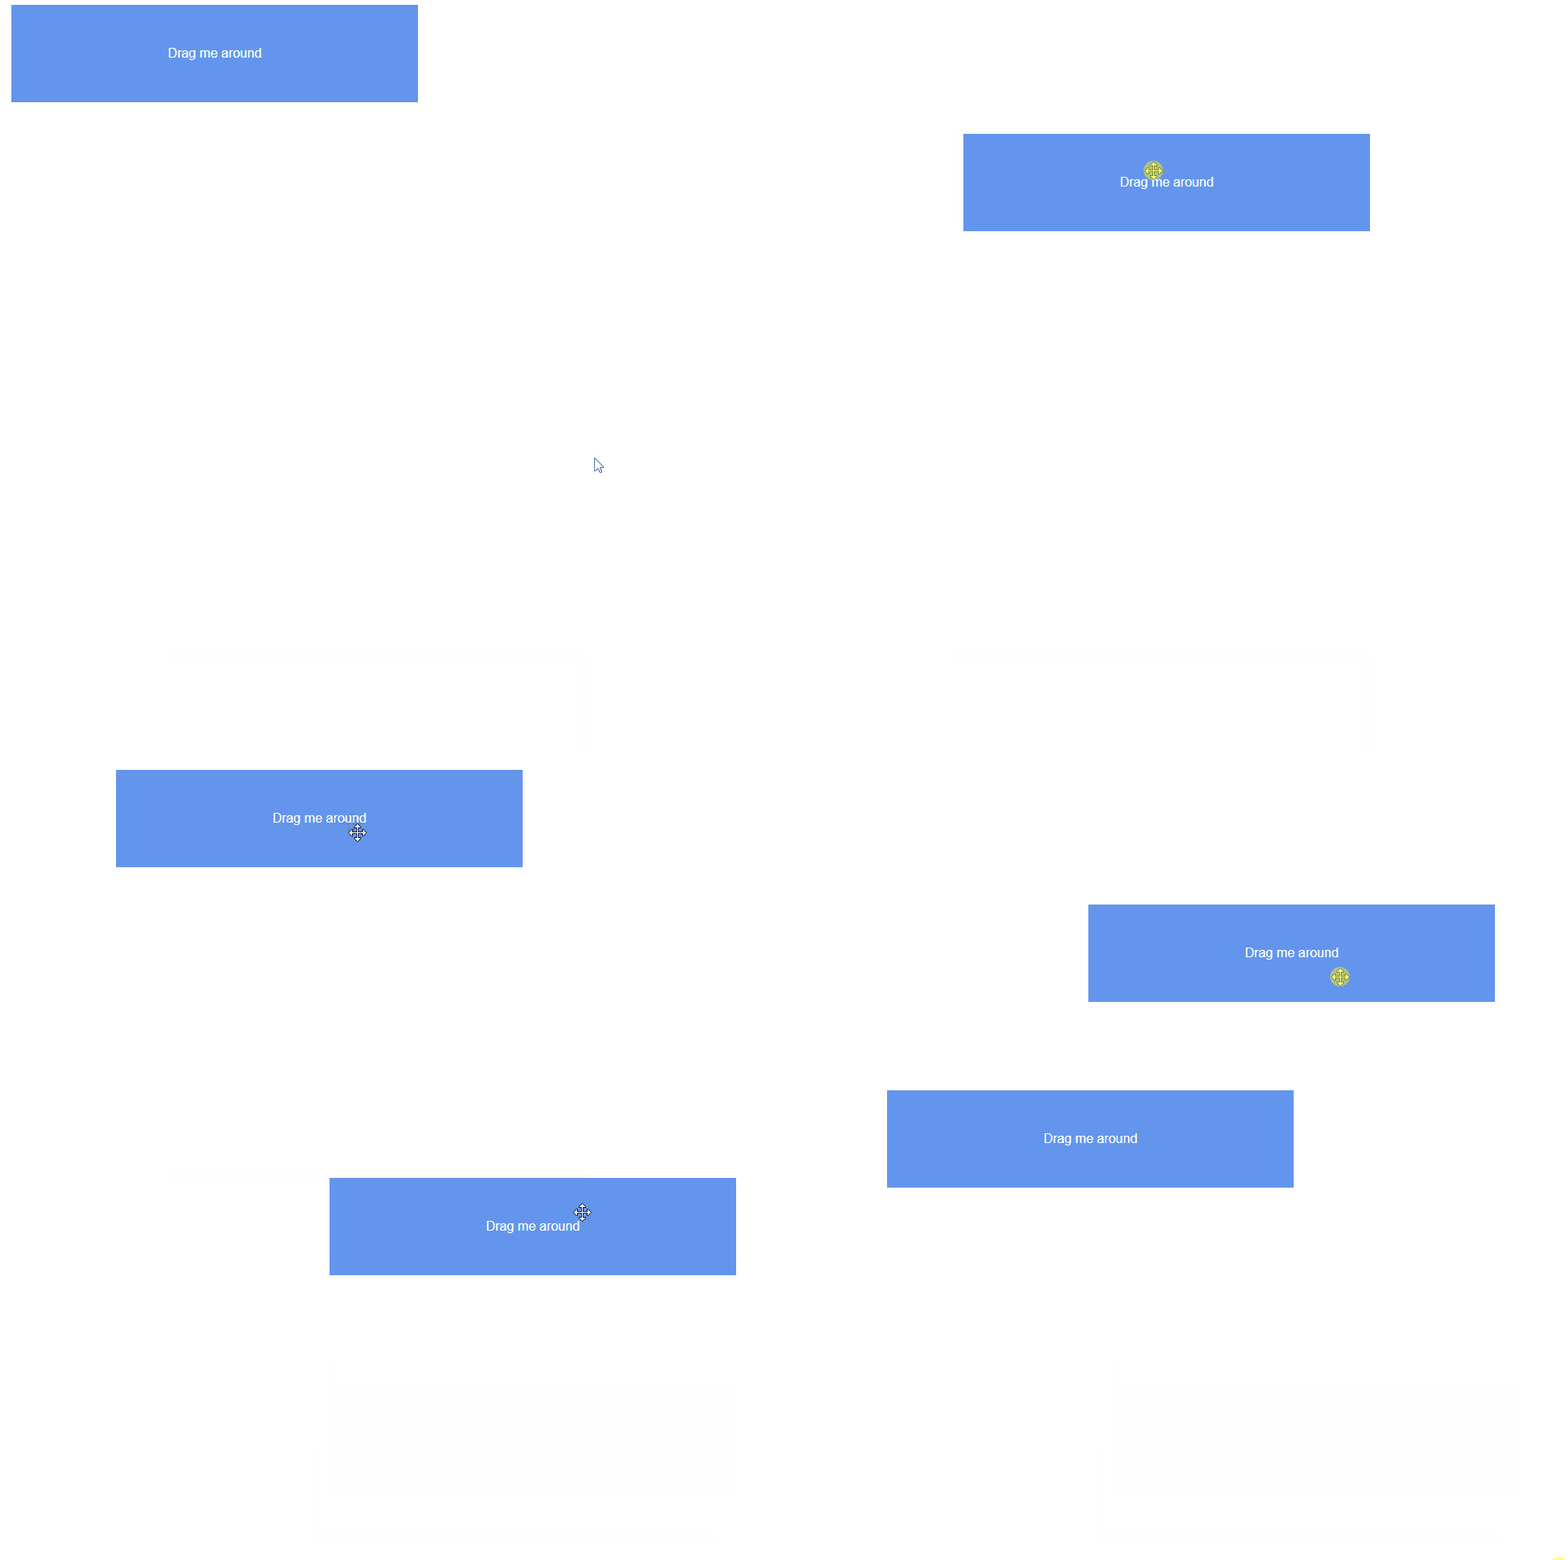
With this, we have a blue square box that you can drag around the screen.
Adding Custom Drag Handle
In some scenarios, you might want to restrict the draggable area to a specific element. This is particularly useful when you want to provide the user with a dedicated 'handle' to drag an element. Angular CDK allows us to do this with the cdkDragHandle directive.
HTML Setup
To create a drag handle, nest another div inside our draggable div and attach the cdkDragHandle directive to it.
<div cdkDrag>
  <div cdkDragHandle>Drag me around</div>
</div>
Now, you can only start dragging the element from the inner div. This feature can provide more control and improve usability, especially in complex interfaces.
Implementing Drag and Drop with Sorting
A common use case for drag and drop interfaces is allowing lists to be sorted. To create a sortable list with Angular CDK, you'll use the cdkDropList directive in conjunction with the cdkDrag directive.
HTML Setup
First, we need a list of items. Each item will have the cdkDrag directive. The entire list is enclosed in a parent div with the cdkDropList directive.
<div cdkDropList>
  <div cdkDrag *ngFor="let item of items">
    {{item}}
  </div>
</div>
TypeScript Setup
In your component class, define the items array. This array will be used to populate the list items in the HTML.
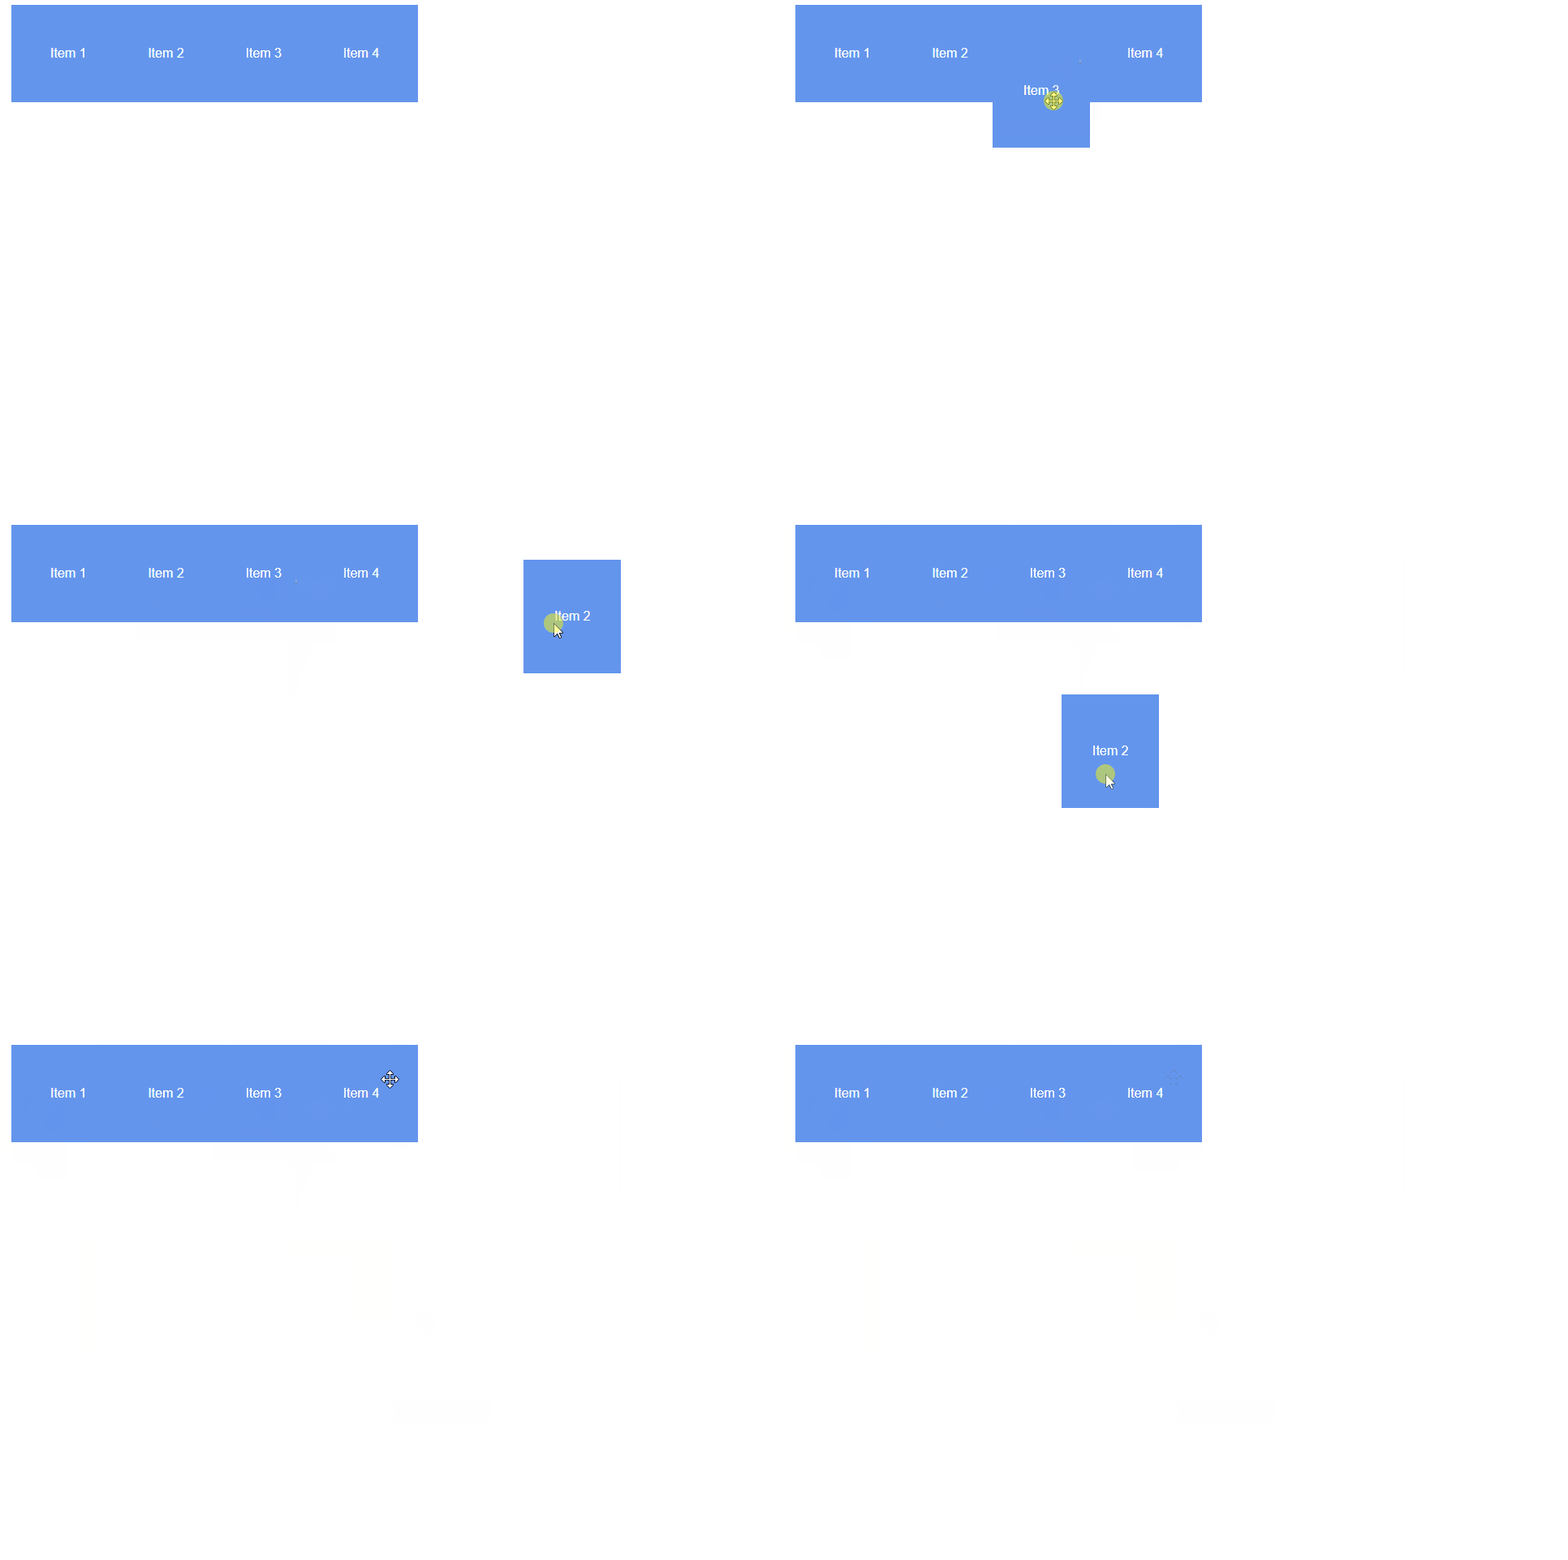
items = ['Item 1', 'Item 2', 'Item 3', 'Item 4'];Now, you have a list of items that you can drag around.
Implementing Drop across Containers
Allowing items to be moved between different lists can be a powerful feature in a drag and drop interface. Angular CDK provides the necessary tools to make this possible. Let's walk through the steps to implement this functionality. You can modify this to make a simple task board or anything that requires drag and dropped function.
HTML Setup
First, create two lists enclosed in div elements with the cdkDropList directive. Give each list a unique id attribute. The cdkDropListConnectedTo directive is used to specify the lists that items can be moved to for the dropped function.
<h2>To do</h2>
<div class="container" cdkDropList id="todo" [cdkDropListConnectedTo]="['done']" [cdkDropListData]="todo" (cdkDropListDropped)="drop($event)">
  <div class="item" cdkDrag *ngFor="let item of todo">{{item}}</div>
</div>

<h2>Done</h2>
<div class="container" cdkDropList id="done" [cdkDropListConnectedTo]="['todo']" [cdkDropListData]="done" (cdkDropListDropped)="drop($event)">
  <div class="item" cdkDrag *ngFor="let item of done">{{item}}</div>
</div>
In the above code, we have added the [cdkDropListConnectedTo] and [cdkDropListData] inputs to the cdkDropList directive. These inputs define the connected lists and provide the data arrays todo and done to the respective lists.
TypeScript Setup
In your component class, define the todo and done arrays. These arrays will be used to populate the list items in the HTML.
import { Component } from '@angular/core';
import { CdkDragDrop, moveItemInArray, transferArrayItem } from '@angular/cdk/drag-drop';

@Component({
  selector: 'app-root',
  templateUrl: './app.component.html',
  styleUrls: ['./app.component.css']
})
export class AppComponent {
  title = 'angular-drag-drop-tutorial';
  todo = ['Get to work', 'Pick up groceries', 'Go home', 'Fall asleep'];
  done = ['Get up', 'Brush teeth', 'Take a shower', 'Check e-mail', 'Walk dog'];

  drop(event: CdkDragDrop<string[]>) {
    if (event.previousContainer === event.container) {
      // Reorder items within the same list
      moveItemInArray(event.container.data, event.previousIndex, event.currentIndex);
    } else {
      // Move items between lists
      transferArrayItem(
        event.previousContainer.data,
        event.container.data,
        event.previousIndex,
        event.currentIndex
      );
    }
  }
}
In the component class, we have added the drop method, which handles the logic for moving items between lists and re-ordering them based on your requirements. It uses the CdkDragDrop event from Angular CDK and the moveItemInArray and transferArrayItem functions to reorder items within the same list and transfer items between lists, respectively.
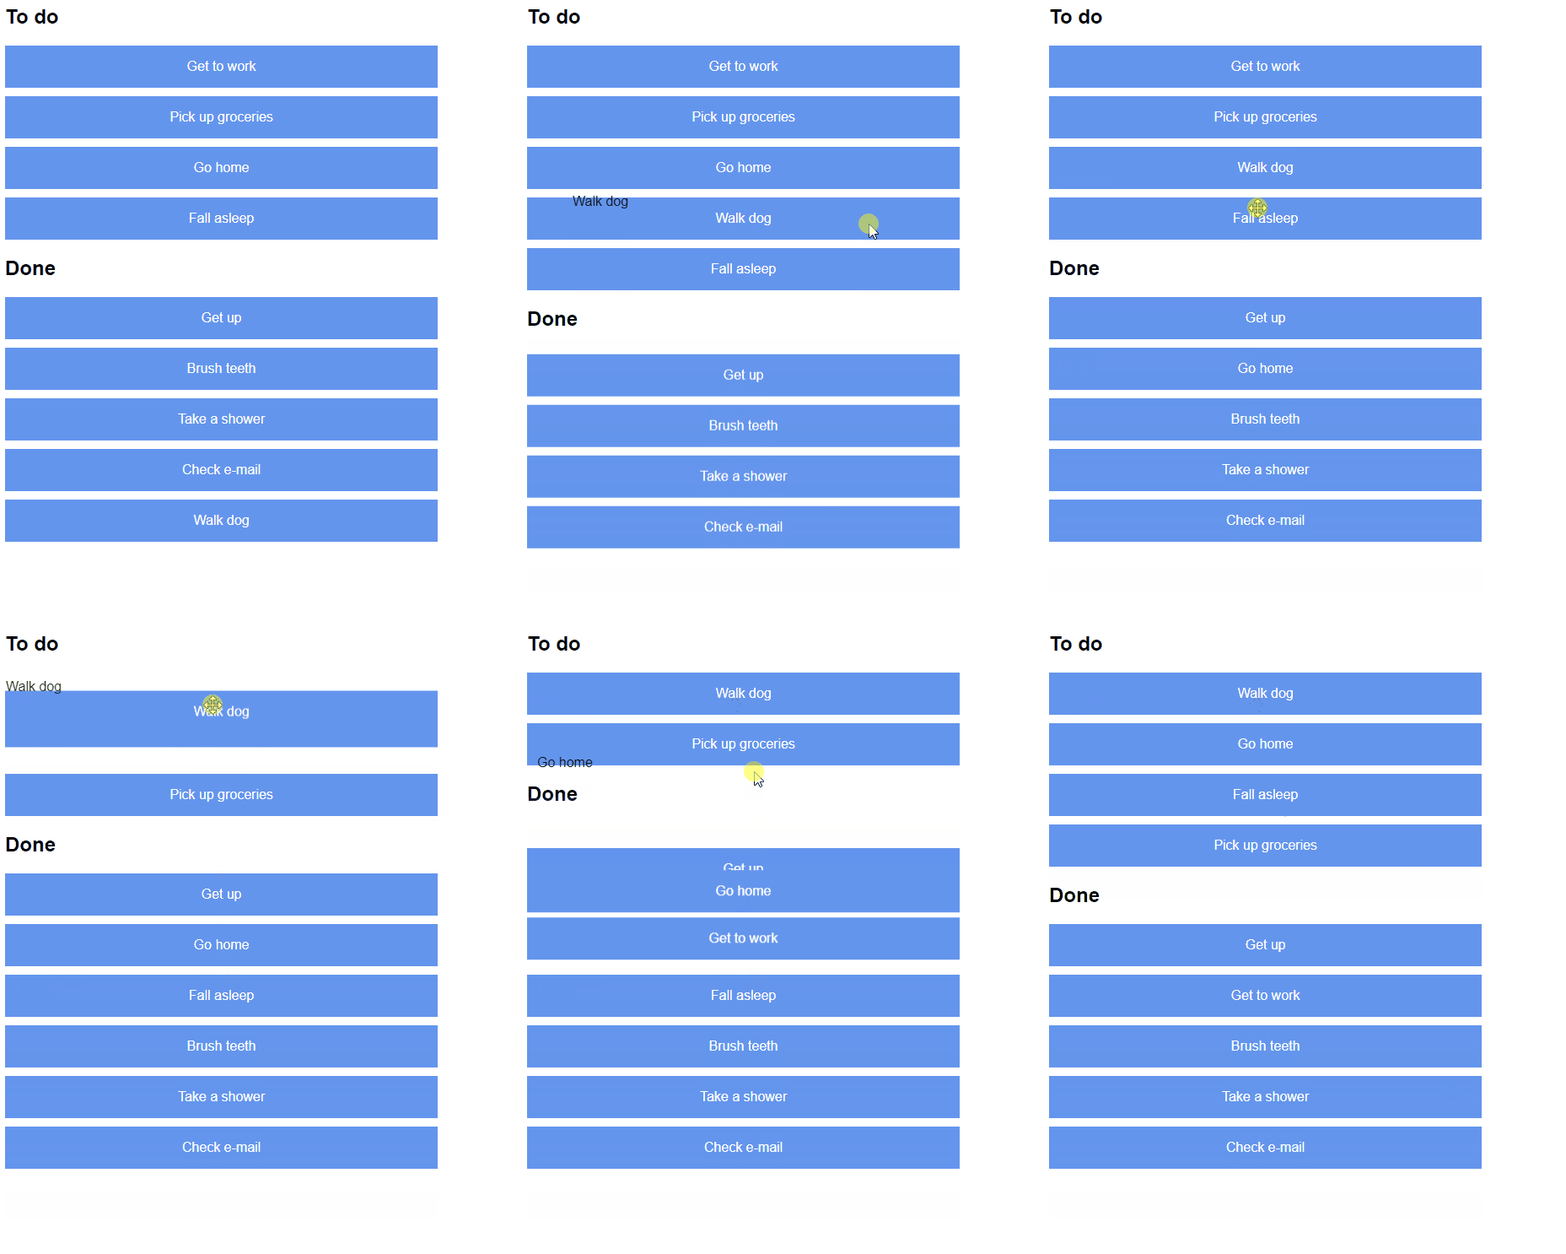
With these updates, you should be able to drag and drop items between the "To Do" and "Done" lists, allowing for seamless task management or any other use case that requires moving items between containers based on the original position.
Note: Make sure to adjust the CSS classes and styles (container and item in this example) to match your application's design and requirements.
Here's a practical example of what you can do:
.container {
  display: flex;
  flex-direction: column;
  gap: 10px; /* Adjust the value as needed for the spacing between stacked elements */
}

.container .item {
  width: 50%;
  background-color: #6495ED;
  color: white;
  display: flex;
  justify-content: center;
  align-items: center;
  cursor: move;
  padding: 1em;
  transition: transform 0.2s ease-in-out; /* Add a transition for smooth animation */
}

.container .item.cdk-drag-preview {
  opacity: 0.8; /* Adjust the opacity of the dragged element preview */
  background-color: #FFA500; /* Customize the background color of the dragged element preview */
  box-shadow: 0 4px 8px rgba(0, 0, 0, 0.1); /* Add a box shadow to the dragged element preview */
}
With these updates, you should be able to drag and drop items between the "To Do" and "Done" lists, allowing for a visually appealing and seamless task management experience.
By following these steps, you can implement drag and drop functionality across containers in your Angular application using the Angular CDK Drag and Drop module.
Troubleshooting Common Issues in Angular for Drag And Drop
In this section, we'll address common issues that might come up while implementing drag and drop functionality using Angular's CDK Drag and Drop module, and offer some solutions.
1. Items are not draggable
This issue may occur if the Angular CDK Drag and Drop module has not been properly imported. The DragDropModule must be imported into the module where you want to use drag and drop functionality.
Solution: Check your module file (typically app.module.ts) and ensure you have imported the DragDropModule from @angular/cdk/drag-drop, and added it to the imports array.
2. Elements don't move
If you've applied the cdkDrag directive to an element and it doesn't move when you try to drag it, there might be an issue with the CSS.
Solution: Check your CSS to ensure that the cdkDrag directive is not being overridden by other CSS rules. Ensure there's no user-select: none; or pointer-events: none; applied to the draggable elements or their parents. Also, check if the draggable elements are not positioned as fixed or sticky, as this might affect the dragging behavior.
3. Items are not draggable to the desired location
This is likely due to misconfiguration of the connected drop lists. If you're dragging between containers, make sure the cdkDropListConnectedTo property of your source container includes the id of the target container.
Solution: Ensure that you've set the cdkDropListConnectedTo attribute to the id(s) of the target list(s). If you're connecting multiple lists, cdkDropListConnectedTo should be set to an array of ids.
4. Unexpected element reordering
This issue might occur due to the CSS styling of the parent container that holds your draggable elements. If the parent container has a layout that doesn't naturally support reordering (like a flex container with flex-direction set to column-reverse or row-reverse), the visual order of the elements might not match the DOM order.
Solution: Adjust the CSS of the parent container. In the case of a flex container, you can set flex-direction to column or row to make it compatible with drag and drop. If that's not possible, you may need to manually control the reordering behavior using the cdkDropListDropped event and CdkDragDrop methods.
5. Drag and Drop functionality doesn't work on touch devices
Angular CDK's drag and drop supports touch devices out of the box. If it doesn't work, it might be due to compatibility issues or event interference from other libraries.
Solution: Ensure that you're using a recent version of Angular and Angular CDK, as earlier versions might have compatibility issues with touch devices. Also, check if other libraries you're using in your project might interfere with touch events.
6. Custom Drag Handle doesn't work
This issue might occur if the cdkDragHandle directive is not placed inside a cdkDrag element.
Solution: Check your HTML and ensure that the element with the cdkDragHandle directive is a direct child of the cdkDrag element.
In general, while working with Angular's CDK Drag and Drop, it's a good idea to familiarize yourself with the API documentation. This will help you understand the available directives and their usage, making it easier to troubleshoot and resolve any issues.
7. Can't drag an item into an empty list
If you're encountering an issue where you can't drag an item back into an empty list, it's likely because the empty list doesn't have a defined cdkDropListData attribute.
Solution: Make sure the empty list has a defined cdkDropListData attribute. In your HTML code, ensure that the empty list has the [cdkDropListData] attribute set to an empty array.
<h2>To do</h2>
<div class="container" cdkDropList id="todo" [cdkDropListConnectedTo]="['done']" [cdkDropListData]="todo" (cdkDropListDropped)="drop($event)">
  <!-- Drag items here -->
</div>

<h2>Done</h2>
<div class="container" cdkDropList id="done" [cdkDropListConnectedTo]="['todo']" [cdkDropListData]="done" (cdkDropListDropped)="drop($event)">
  <!-- Drag items here -->
</div>
Ensure that both lists, even if empty, have the [cdkDropListData] attribute set. This will ensure that the empty list has an array to store the dropped items.
Update the TypeScript code to initialize the arrays. In your component class, make sure the todo and done arrays are defined and initialized as empty arrays.
export class AppComponent {
  title = 'angular-drag-drop-tutorial';
  todo: string[] = []; // Initialize as empty array
  done: string[] = []; // Initialize as empty array

  // Rest of your code
}
By initializing the arrays as empty, you provide a valid data source for the empty lists, allowing items to be dragged and dropped into them.
With these modifications, you should be able to drag an item back into an empty list without encountering any issues.
Wrapping up
And that's a wrap! You've learned how to implement a drag and drop interface using Angular's CDK Drag and Drop module.
This is just the beginning. Angular's Drag and Drop module has many more capabilities such as boundary restrictions, orientation locking, and custom previews. You now have a solid foundation and I encourage you to dive deeper and experiment with these additional features.
Remember that the key to mastering drag and drop (like any other skill) is practice. Don't hesitate to start incorporating what you've learned in your own projects. Happy coding!
